Food Styling Tips for Beginners and Pro Food Stylists
22 June, 22
Otherwise known as creating a feast for the eyes! A professional food stylist is to food photography, what a fashion stylist would be to fashion photography. The chef makes food taste good, but the food stylist makes the food look good! So here are a few food styling tips and ideas of food photography props you could use for your food photography journey.
As a food stylist, you'll use textures, garnish, shapes, appearances, and freshness of the food to create drool-worthy food photos that create a story from the chef right to the consumer. There are many things that you should take into considerations for a great career in food photography. These would include photography skills, great use of natural light and angles, optimal composition and choice of the right props, right equipment and settings, some sense of the cooking process, etc.

With some practice, the right food photography props and photography tips will mean the difference, from a discolored, distorted photo to amazing picture-perfect photos. And no one will have to know that you used your smartphone!
Your food styling skills and choice of food photography props will make or break your image. So if you want to get started in a food photography career, you can either read a whole book about it (400+ pages OR just go over some of the tips we've outlined to help you style and capture your food for some drool-worthy images.
What Is Food Styling/Photography?
Simply put, food styling is an art where you work with your favorite food photography props, simple pieces or dishes to create an appealing and delicious photograph of recipes and dishes. Some may say that food styling is nothing but "plating meals for filming," but in reality, there's so much more that goes into the creation, which also includes so much valuable time. That said, you also cannot lack imagination as a food stylist since you'll need to elevate these pictures to another level by simply using the same or extra ingredients or shifting around some of the items.
Many restaurants now realize that preparing a great meal is not enough; they'll now need to collaborate with a skilled food stylist round the clock if they are willing to market their products in a stylish competitive way. Evidently, food marketing is no longer about menus and pamphlets anymore, which is why they're now exists an endless list of food styling courses that you can take either as a professional food stylist or beginner.
What Items Always Come In Handy?
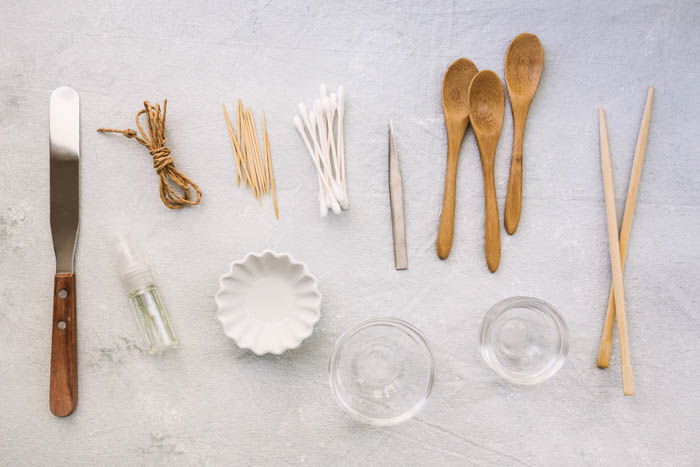
As a food stylist, you'll always need some items in your toolkit like every other profession. Here's what to never miss at a shoot:
a) A Sharp Knife
A sharp knife will always ensure that you can make precise and even cuts to avoid a dirty kind of a mess. But, of course, we want the good kind of a mess here!
b) Different Brushes
A lot of professional food stylists walk around with way more brushes than you'd realize. These brushes come in handy when you need to dust surfaces, move some powdery ingredients, or when need to manipulate liquids or droplets. Always invest in high-quality brushes from art stores or makeup suppliers. This way, they'll not only last longer, but they'll also produce an even sturdier appearance.
c) Pair of Small Scissors
You'll need a pair of scissors to trim around the edges, make stencils for some decorative cakes, or even when you need to meet some basic utilitarian needs like cutting boards or a sheet of parchment paper down to the optimum size. But a lot of the pros prefer little scissors because then that means that they can get into small spaces and work the more delicate maneuvers that you might need to perfect a vignette.
d) Tweezers
As a food stylist, you might need to carefully move around or arrange some small objects—which can be quite dainty! Tweezers have bent tips that allow you to lower the items right into position.
e) Utility blade
In tiny places where you can't even get the little scissors to work, you will need a super sharp and narrow knife or utility blade.
f) Ruler
You'll need a ruler to measure even distances between some items; additionally, you can also use it as a miniature offset spatula—which you can fit into tiny places where other instruments cannot reach.
g) Offset Spatula
Offsets spatulas come in different sizes, but you'll need one that's great for small-scale work. One great example of using it is when you need to smooth out some condiments or icing.
What's The Importance Of Food Styling?
i) Remember the line- "First impressions are last impressions"? Food styling is what you'd use to assure your target audience that your food is always the best and the most beautiful. Food photography and food styling are used to create a visual and tasty appeal, to attract, persuade, and ultimately draw in potential customers.
ii) Food stylists also give your menu a splendid makeover to help you increase online traffic and your online presence.
iii) Food Styling also comes in handy if you are a chef. Some of these styling tips and simple patterns will always keep you ahead of the game.
iV) Even if you are not a restaurant owner, chef or food blogger, knowing and incorporating these tips will definitely give you a better and more enjoyable cooking experience at home. It's definitely a great hobby to pick up!
1. Use Small Plates/Bowls

Food always looks so much better when there’s a small amount, especially if it's carefully-chosen pieces. These chosen pieces would look quite lost if you'd use regular-sized dinner plates. So try to use small bowls and salad plates when styling food. Generally, smaller props work best.
2. Choose and Style With Wisely Chosen Ingredients
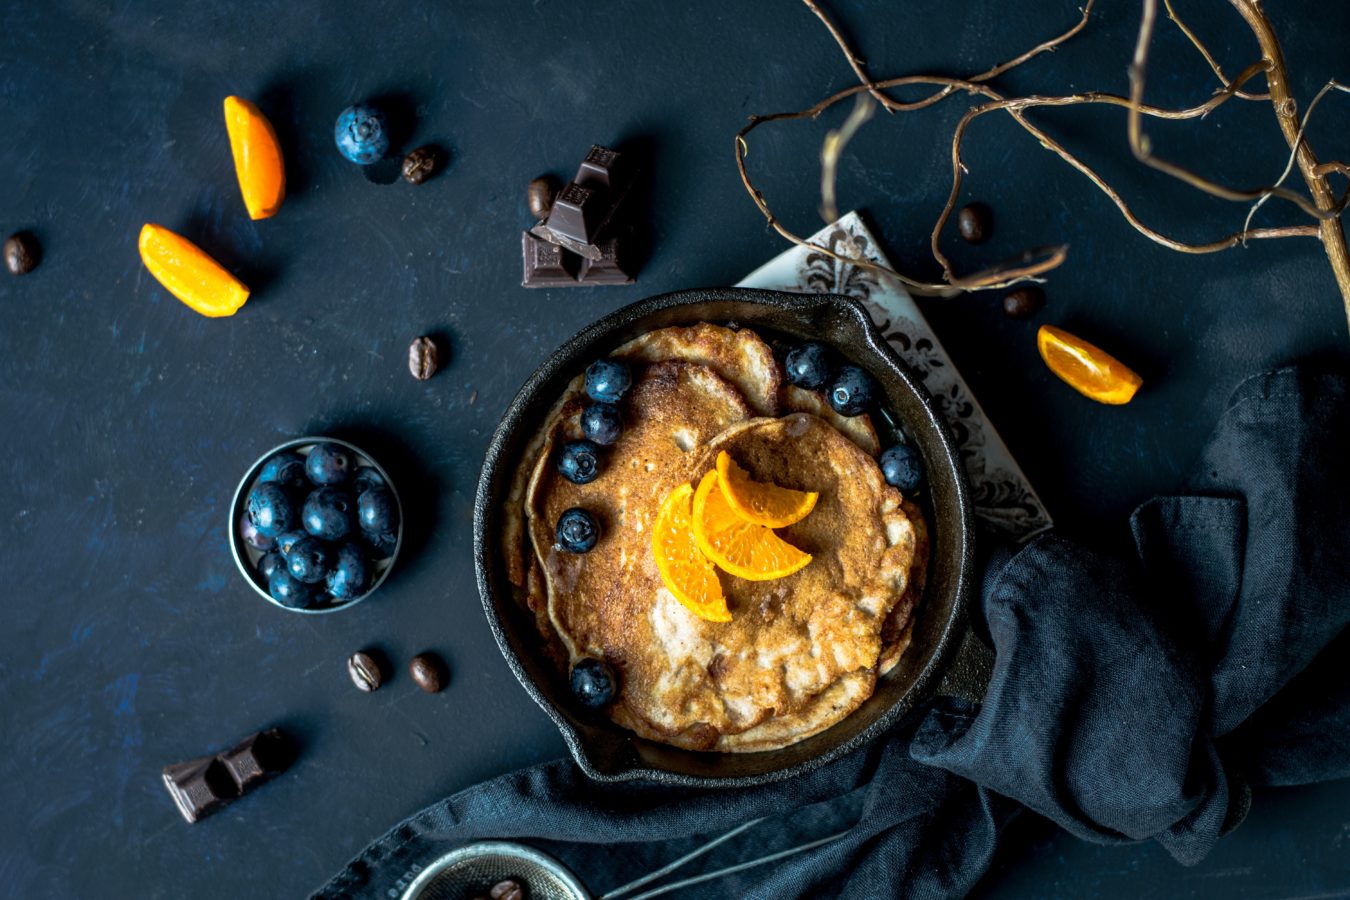
As a rule of thumb, fresh ingredients are great props, especially when placed on the backdrop. Fresh produce always brings an element of freshness to the images to create the feeling that the food has just been prepared. They also give the viewer flavor hints and tastes to help them imagine what the dish would taste like.
As well, remember that not everything needs to be picture-perfect, but even then, look for ingredients that have a great shape, are unblemished, especially if you're going to be showcasing them raw. When dealing with proteins, always try to shop from a trusted butcher. For instance, many shrink-wrapped cuts may look just okay behind the plastic but would probably turn out to have poorly trimmed or some rough edges that could impact the appearance of your final dish.
3. Break Boundaries, Use Layers, and Highlight Dimensions
Try to add interest to your images by creating depth, layers and boundaries. For instance, one way to create layers would be to lay a napkin, then the plate, then a small bowl with the smoothie and finally the fruits on top. That right there would create 5 layers!
Notice how your favorite food photographers consistently use layers. Additionally, to demonstrate the distinction between photography and styling, you can try to keep the camera in one fixed position. But no matter what angle you choose to shoot from, always try to experiment with the height and boundaries and never keep anything super flat.
Try to break up the surfaces by playing around with the boundaries. This is also one way to bring images to life, thereby translating, into a 3-dimensional world.
4. Garnish and Get Messy *But Not Dirty* for Perfect Layers
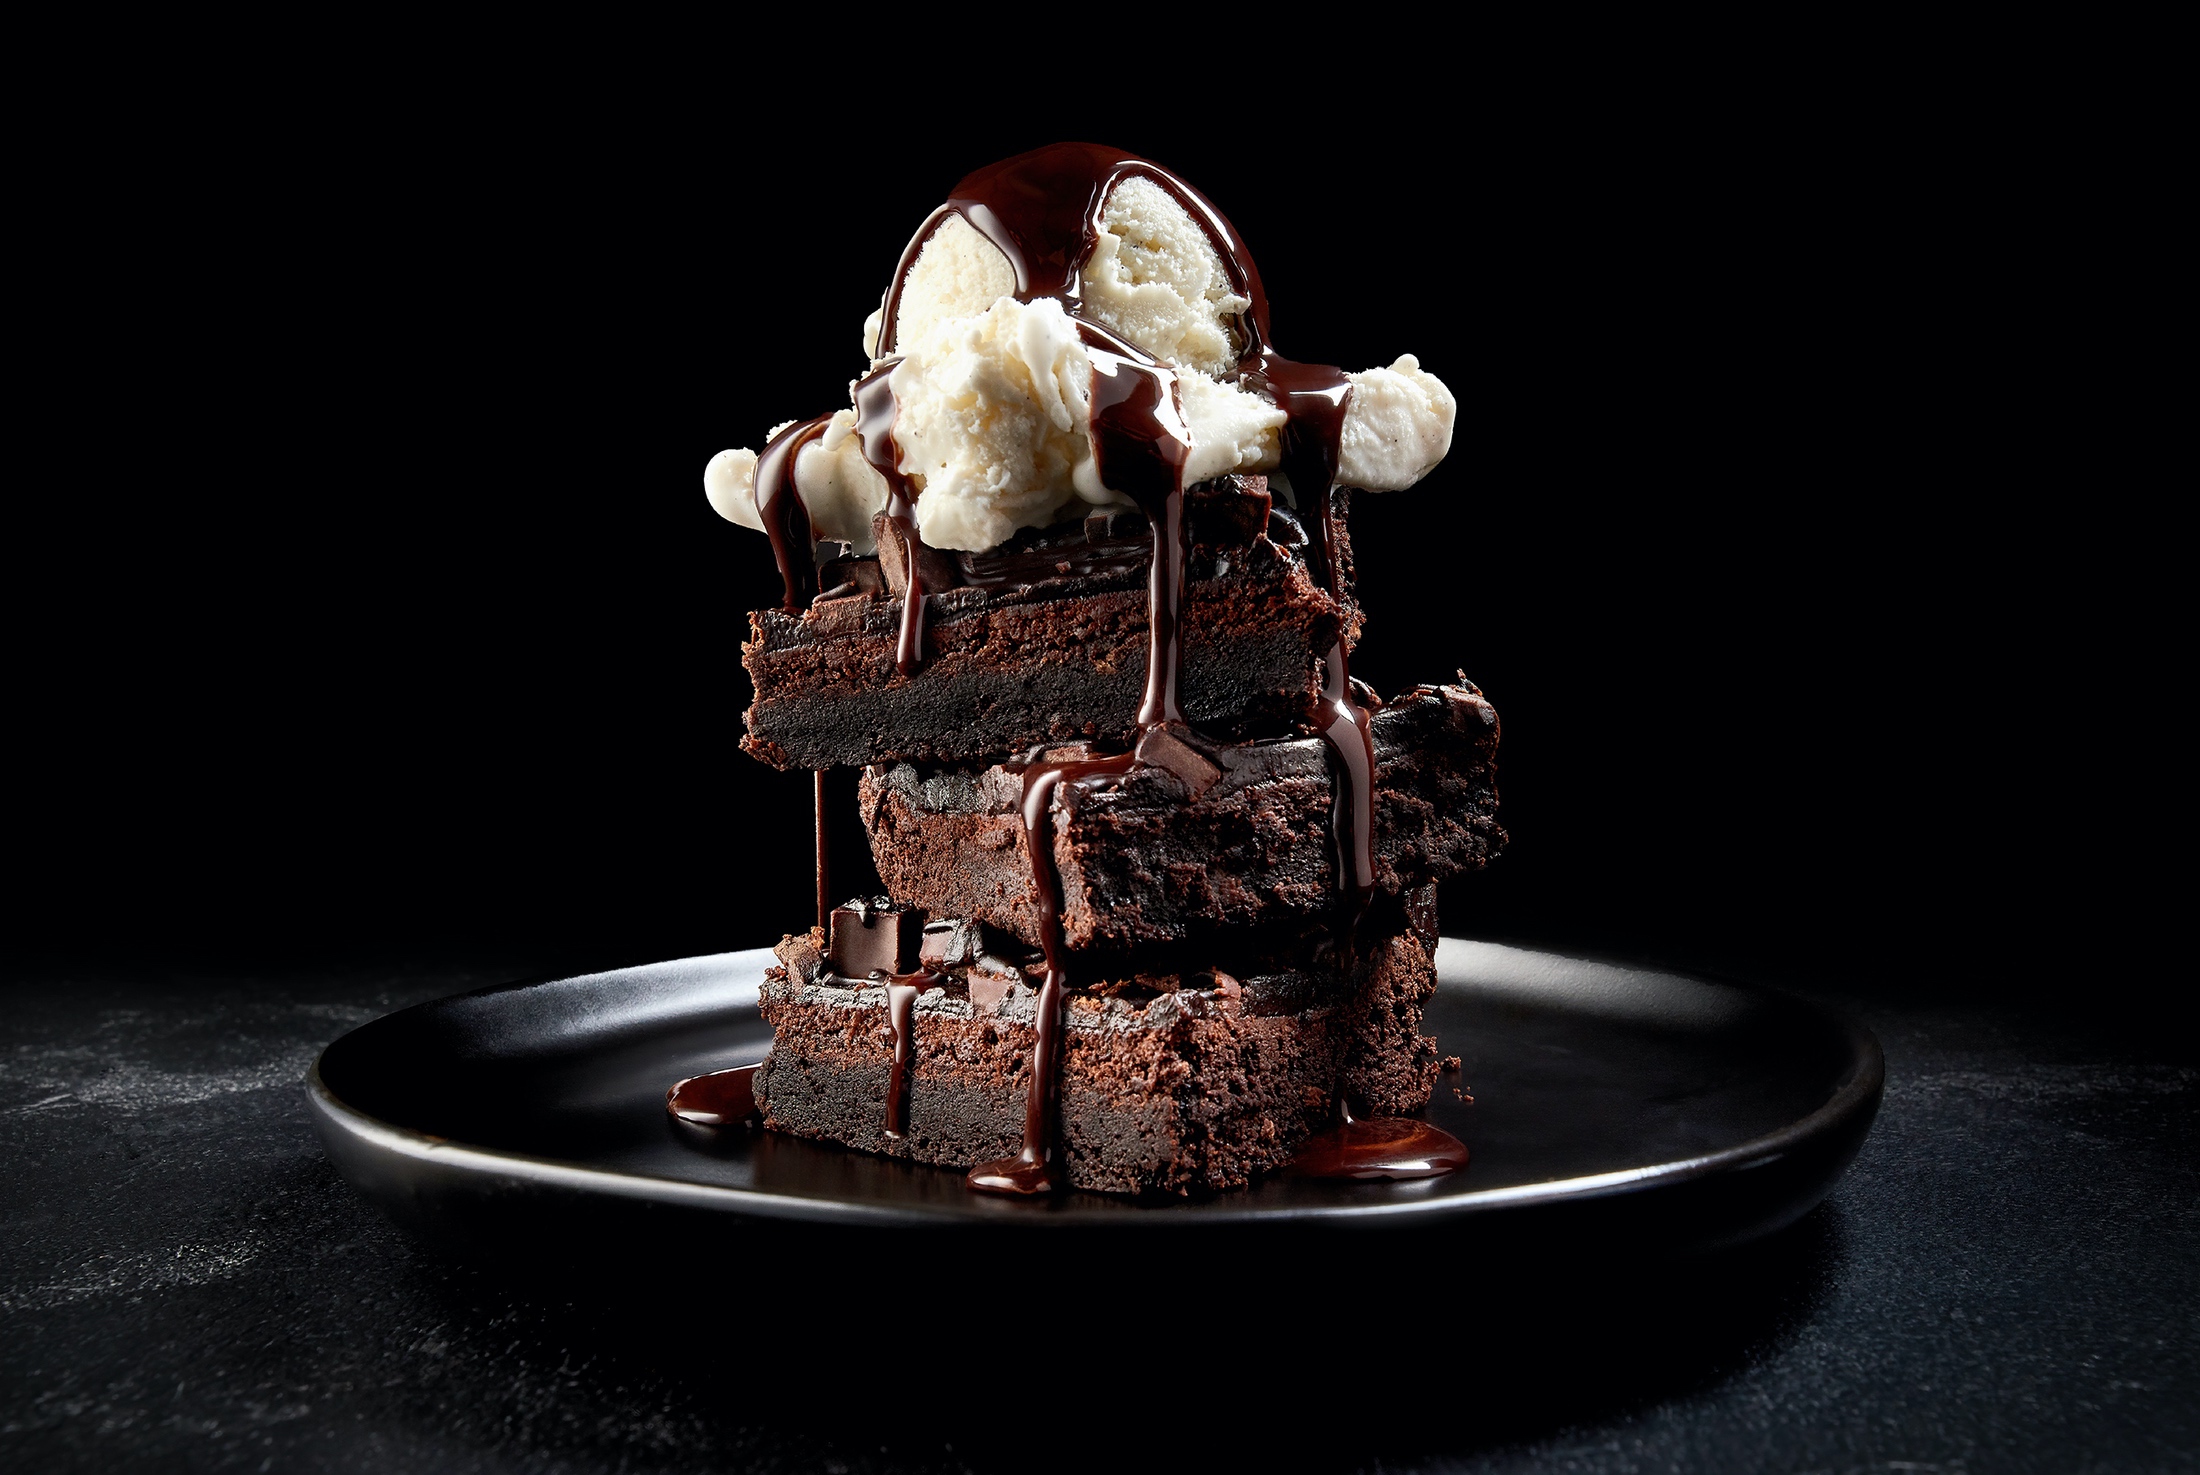
Adding interest to draw attention to the food will require you to create drama. One way to do this is by using garnish or get a little messy. Just make sure it's the kind of mess that makes you hungry!
If you have a smoothie, one way to garnish is by adding fruits or some coconut flakes on top of the fruit layer. If you have cupcakes or ice cream, you can sprinkle the confectioner’s sugar or pour maple syrup or pepper on top of the stew. You get the gist. A little mess communicates dynamism, movement, bringing the unbridled pleasure of eating.
5. Tell A Story
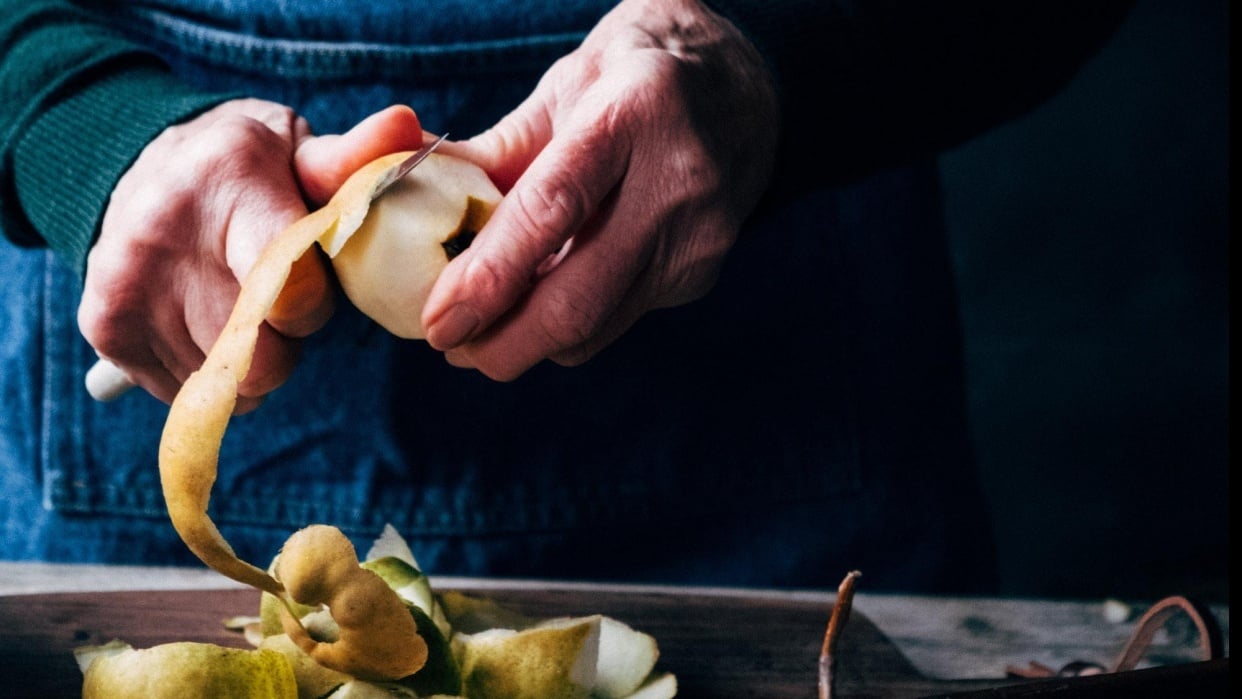
As a food stylist, your work is not just to make the food in the food photo look super delicious; it's also to bring it to life and make it relatable. For instance, you might be composing a plated dish for a fancy restaurant or a family-style meal, or just dinner for one. All these will need you to keep your colors, props, and serving sizes consistent with the story or atmosphere the meal is meant to evoke.
6. Go DIY With The Backdrops
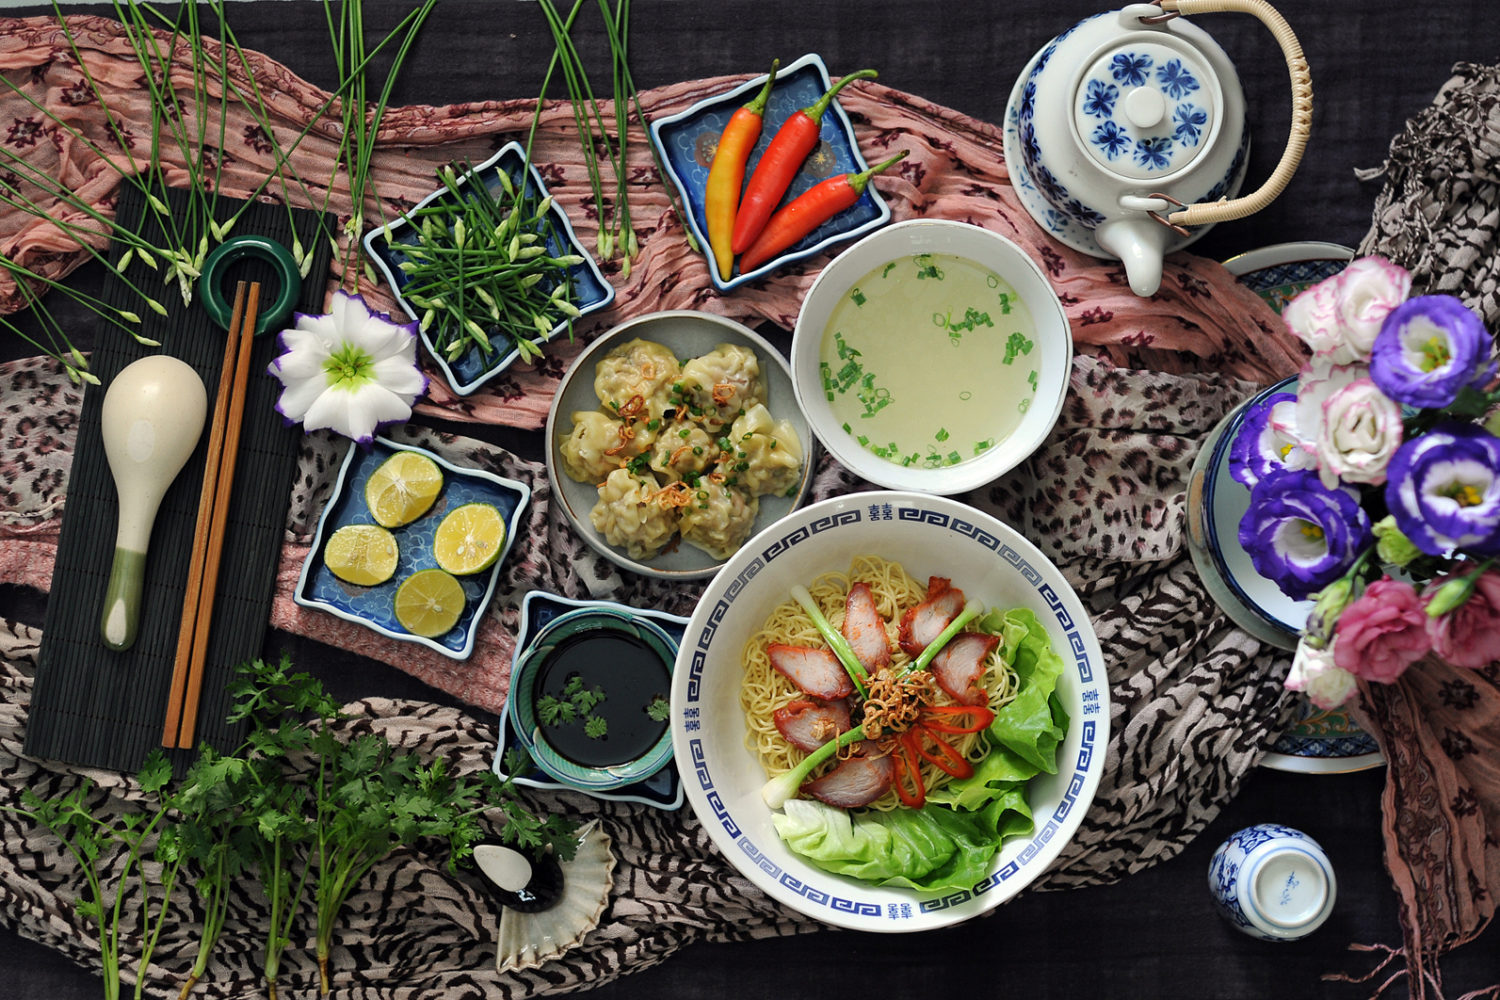
If you are starting as a beginner or just working on a tight budget, then it would be useful to use find things in the house that you can use as backdrops. DIY backdrops would include common items such as tablecloths, linens, parchment paper, baking sheet, tray, paper bags, ceramic tiles, stick-on tiles, wallpaper, etc. Where possible, you can also purchase some pretty beautiful vinyl backdrops at a range of prices or simply make them yourself!
7. Ingredient Props
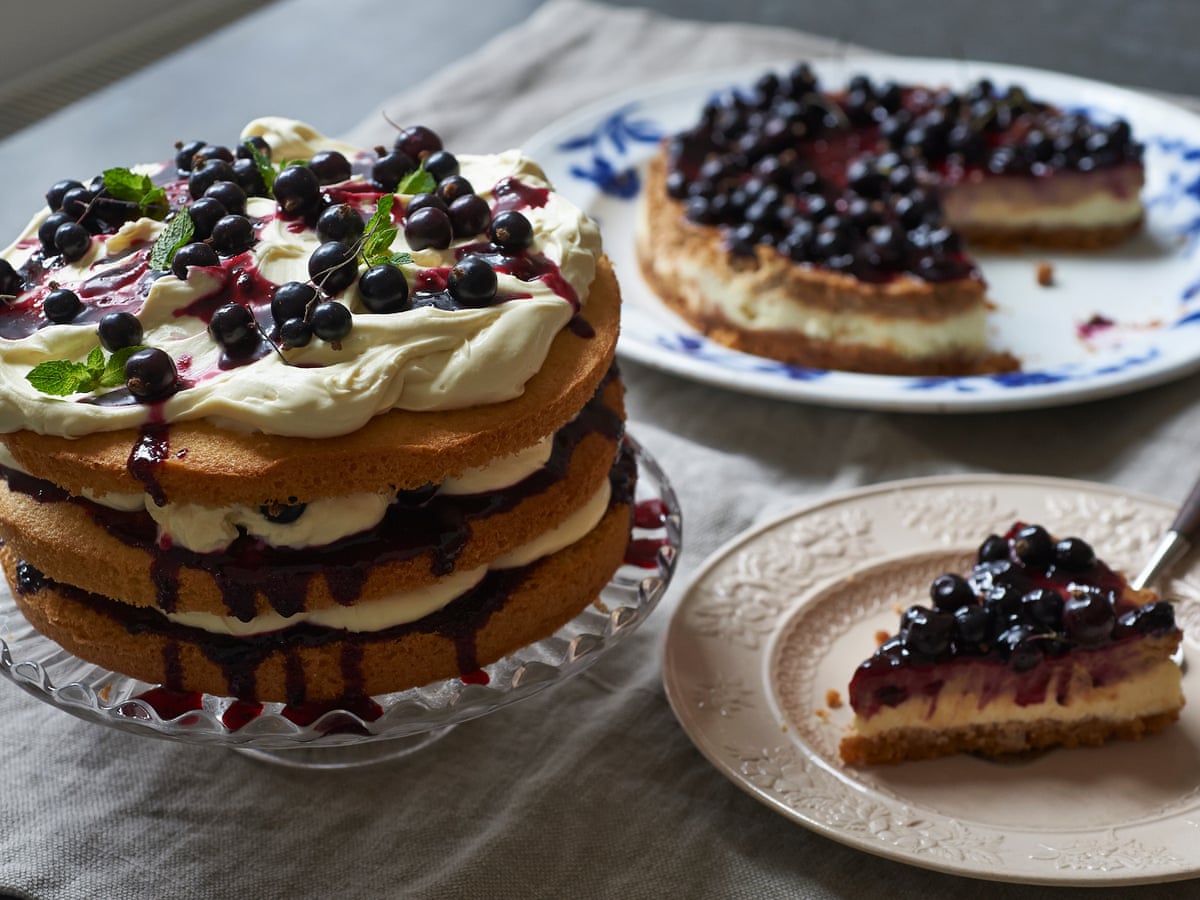
Using the ingredients or real food as your props in the photo is a great indicator since it tells what goes into the recipe. Always try to position the ingredients in a manner in which someone can tell what goes into the dish without even looking at the dish.
8. Add Visual Interest With The Cutlery

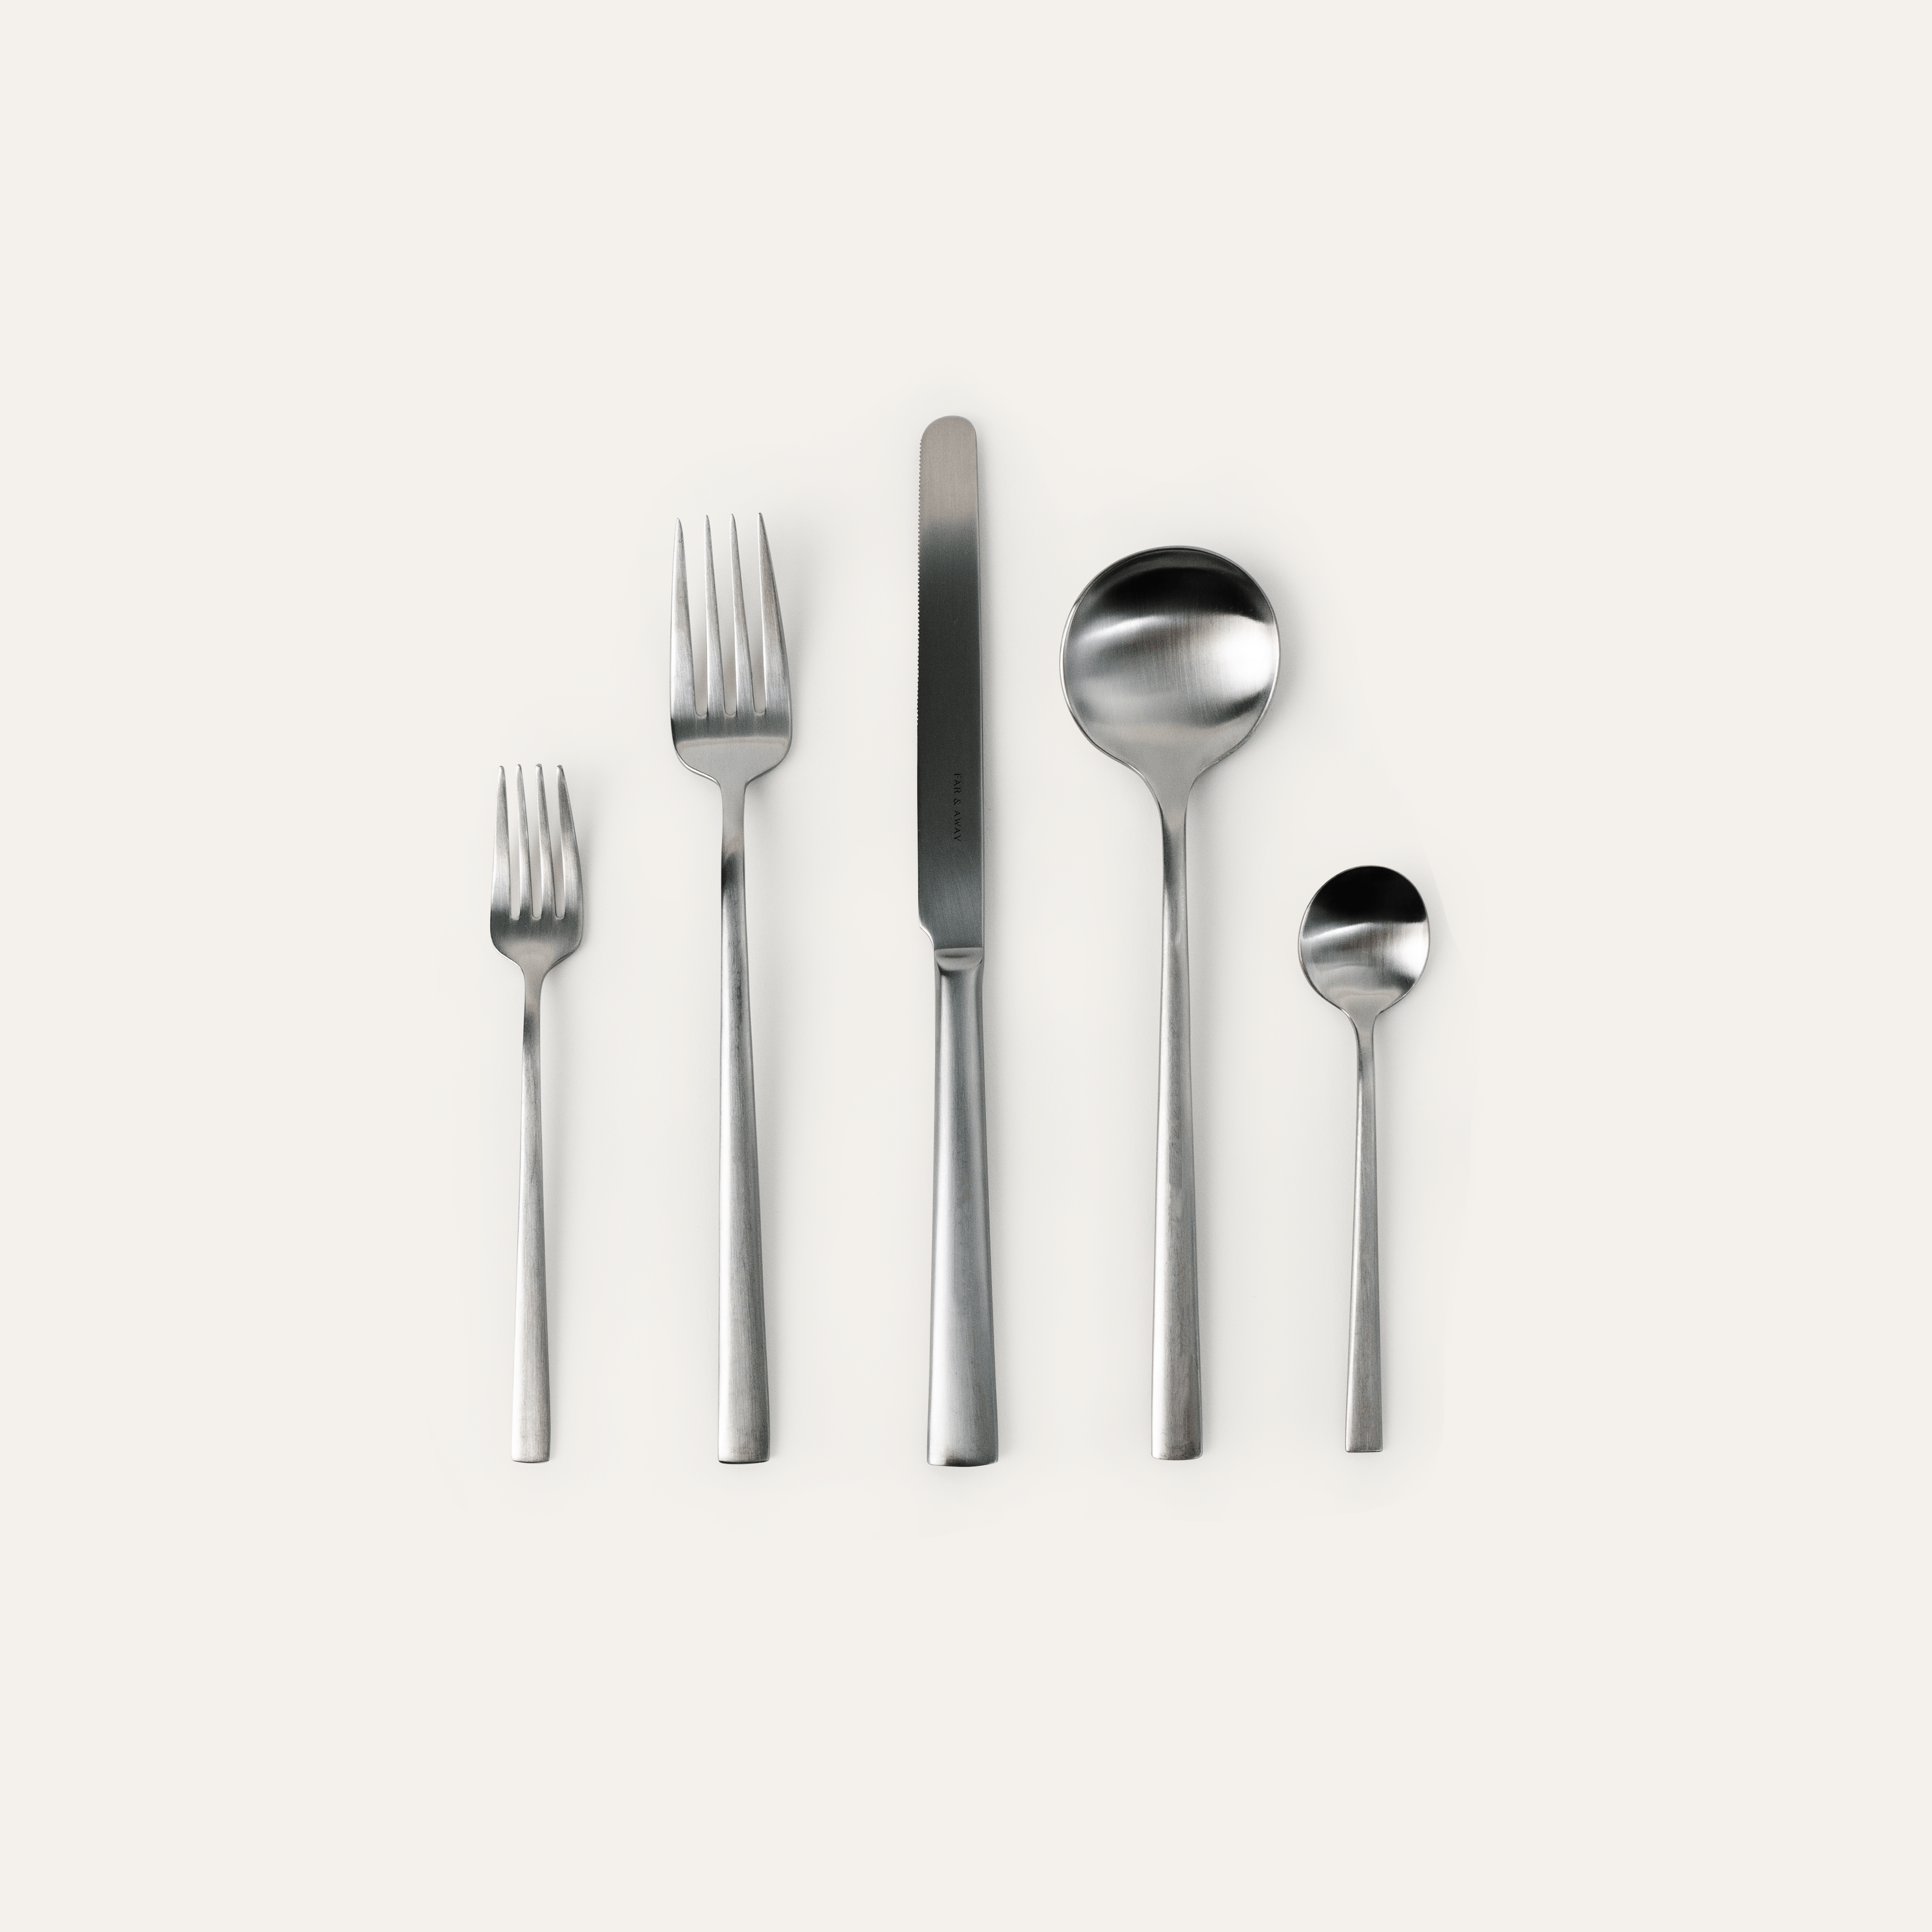
The use of cutlery is a crucial part of food styling because it really helps define the image's feel. Just think about it, if you choose to use vintage silverware, the photos will tell a very different story than if you decide to use that modern minimalist cutlery set. The silverware placement is just as important since it helps give the viewer an insight into who's eating the meal and even possibly where they are. Imagine creating an image with a set of classic silverware placed that's neatly placed on a white folded napkin t tell the story of a fancy restaurant or luxurious dinner. On the other hand, a stack of simple forks that are crisscrossed will evoke a more relaxed, homely setup.
8. Add Texture To Your Photos

Adding texture is another important part of the creation of an image. The use of different textures helps create an interesting image. For instance, you can mix the smoothness of a napkin with the spikiness of a meringue. You can also add some more texture to your photos by sprinkling some rose petals on the set. One other way to do it is to focus on the texture of one particular item using a macro shot.
Tip: You can also line plates with a parchment sheet or baking paper to help add visual interest and simultaneously soften the lines of the plates.
9. Dig In!
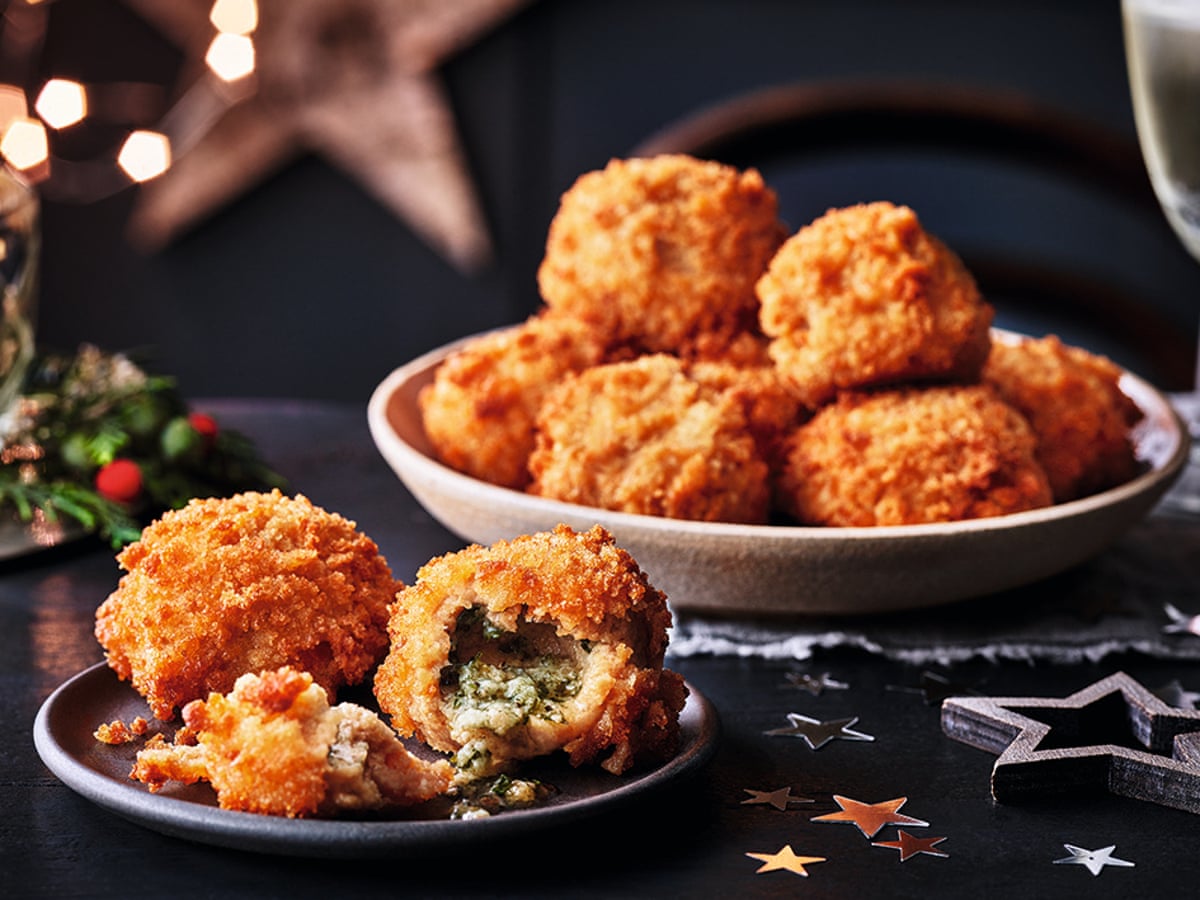
Just like you would with crumbs and calculated spills in baked goods, you can take a bite to add the human element to your pictures. But, of course, you also get to eat the cookie!
10. Work With the Right Color Temperatures

How you reflect light to the props and dishes affects the color temperature. So some could either appear bluer or more yellow depending on the time the photo was taken. Also, be mindful of what it means when you're shooting editing. Generally, blue temperature creates a sense of freshness, while yellow temperatures create a sense of comfort and coziness.
11. Food Photography Is Best Edited
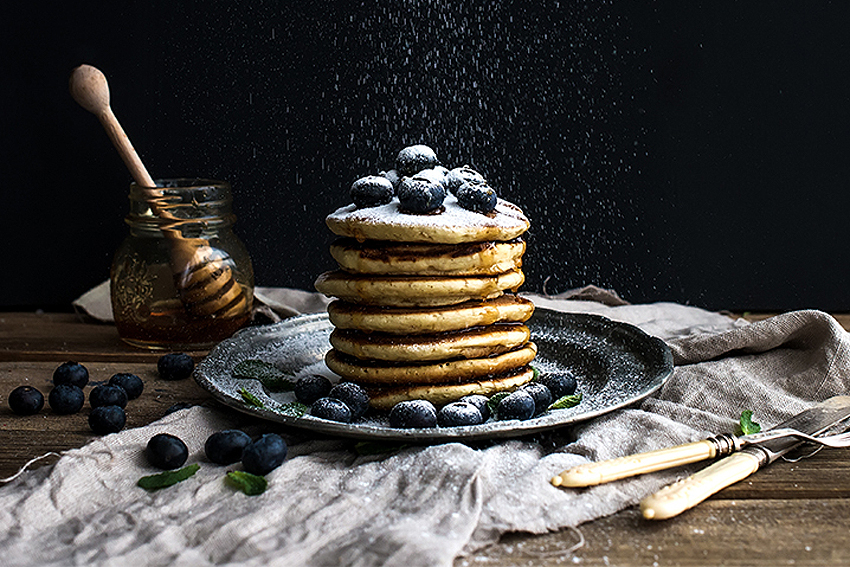
Your images improve exponentially when you finally learn to edit them properly. Try to always use the lightroom to its fullest and keep an eye on what's missing from the image to help transform it from simply a good image to a great one.
related Articles
Popup
Use this popup to embed a mailing list sign up form. Alternatively use it as a simple call to action with a link to a product or a page.
Age verification
By clicking enter you are verifying that you are old enough to consume alcohol.


