How to Wrap Cutlery in Napkin
11 January, 23
Preparation
Preparing and wrapping cutlery in a napkin is an important step in creating a polished, professional presentation of a table setting. Doing it correctly will give the impression of thoughtfulness and great attention to the details of the presentation. Additionally, wrapping the cutlery helps maintain hygiene and sanitation required by health codes.
This article will explain in detail the necessary steps to properly wrap cutlery in a napkin:
Gather materials
Gathering the necessary materials to wrap cutlery in a napkin is the first step in mastering the art of napkin folding. You will need:
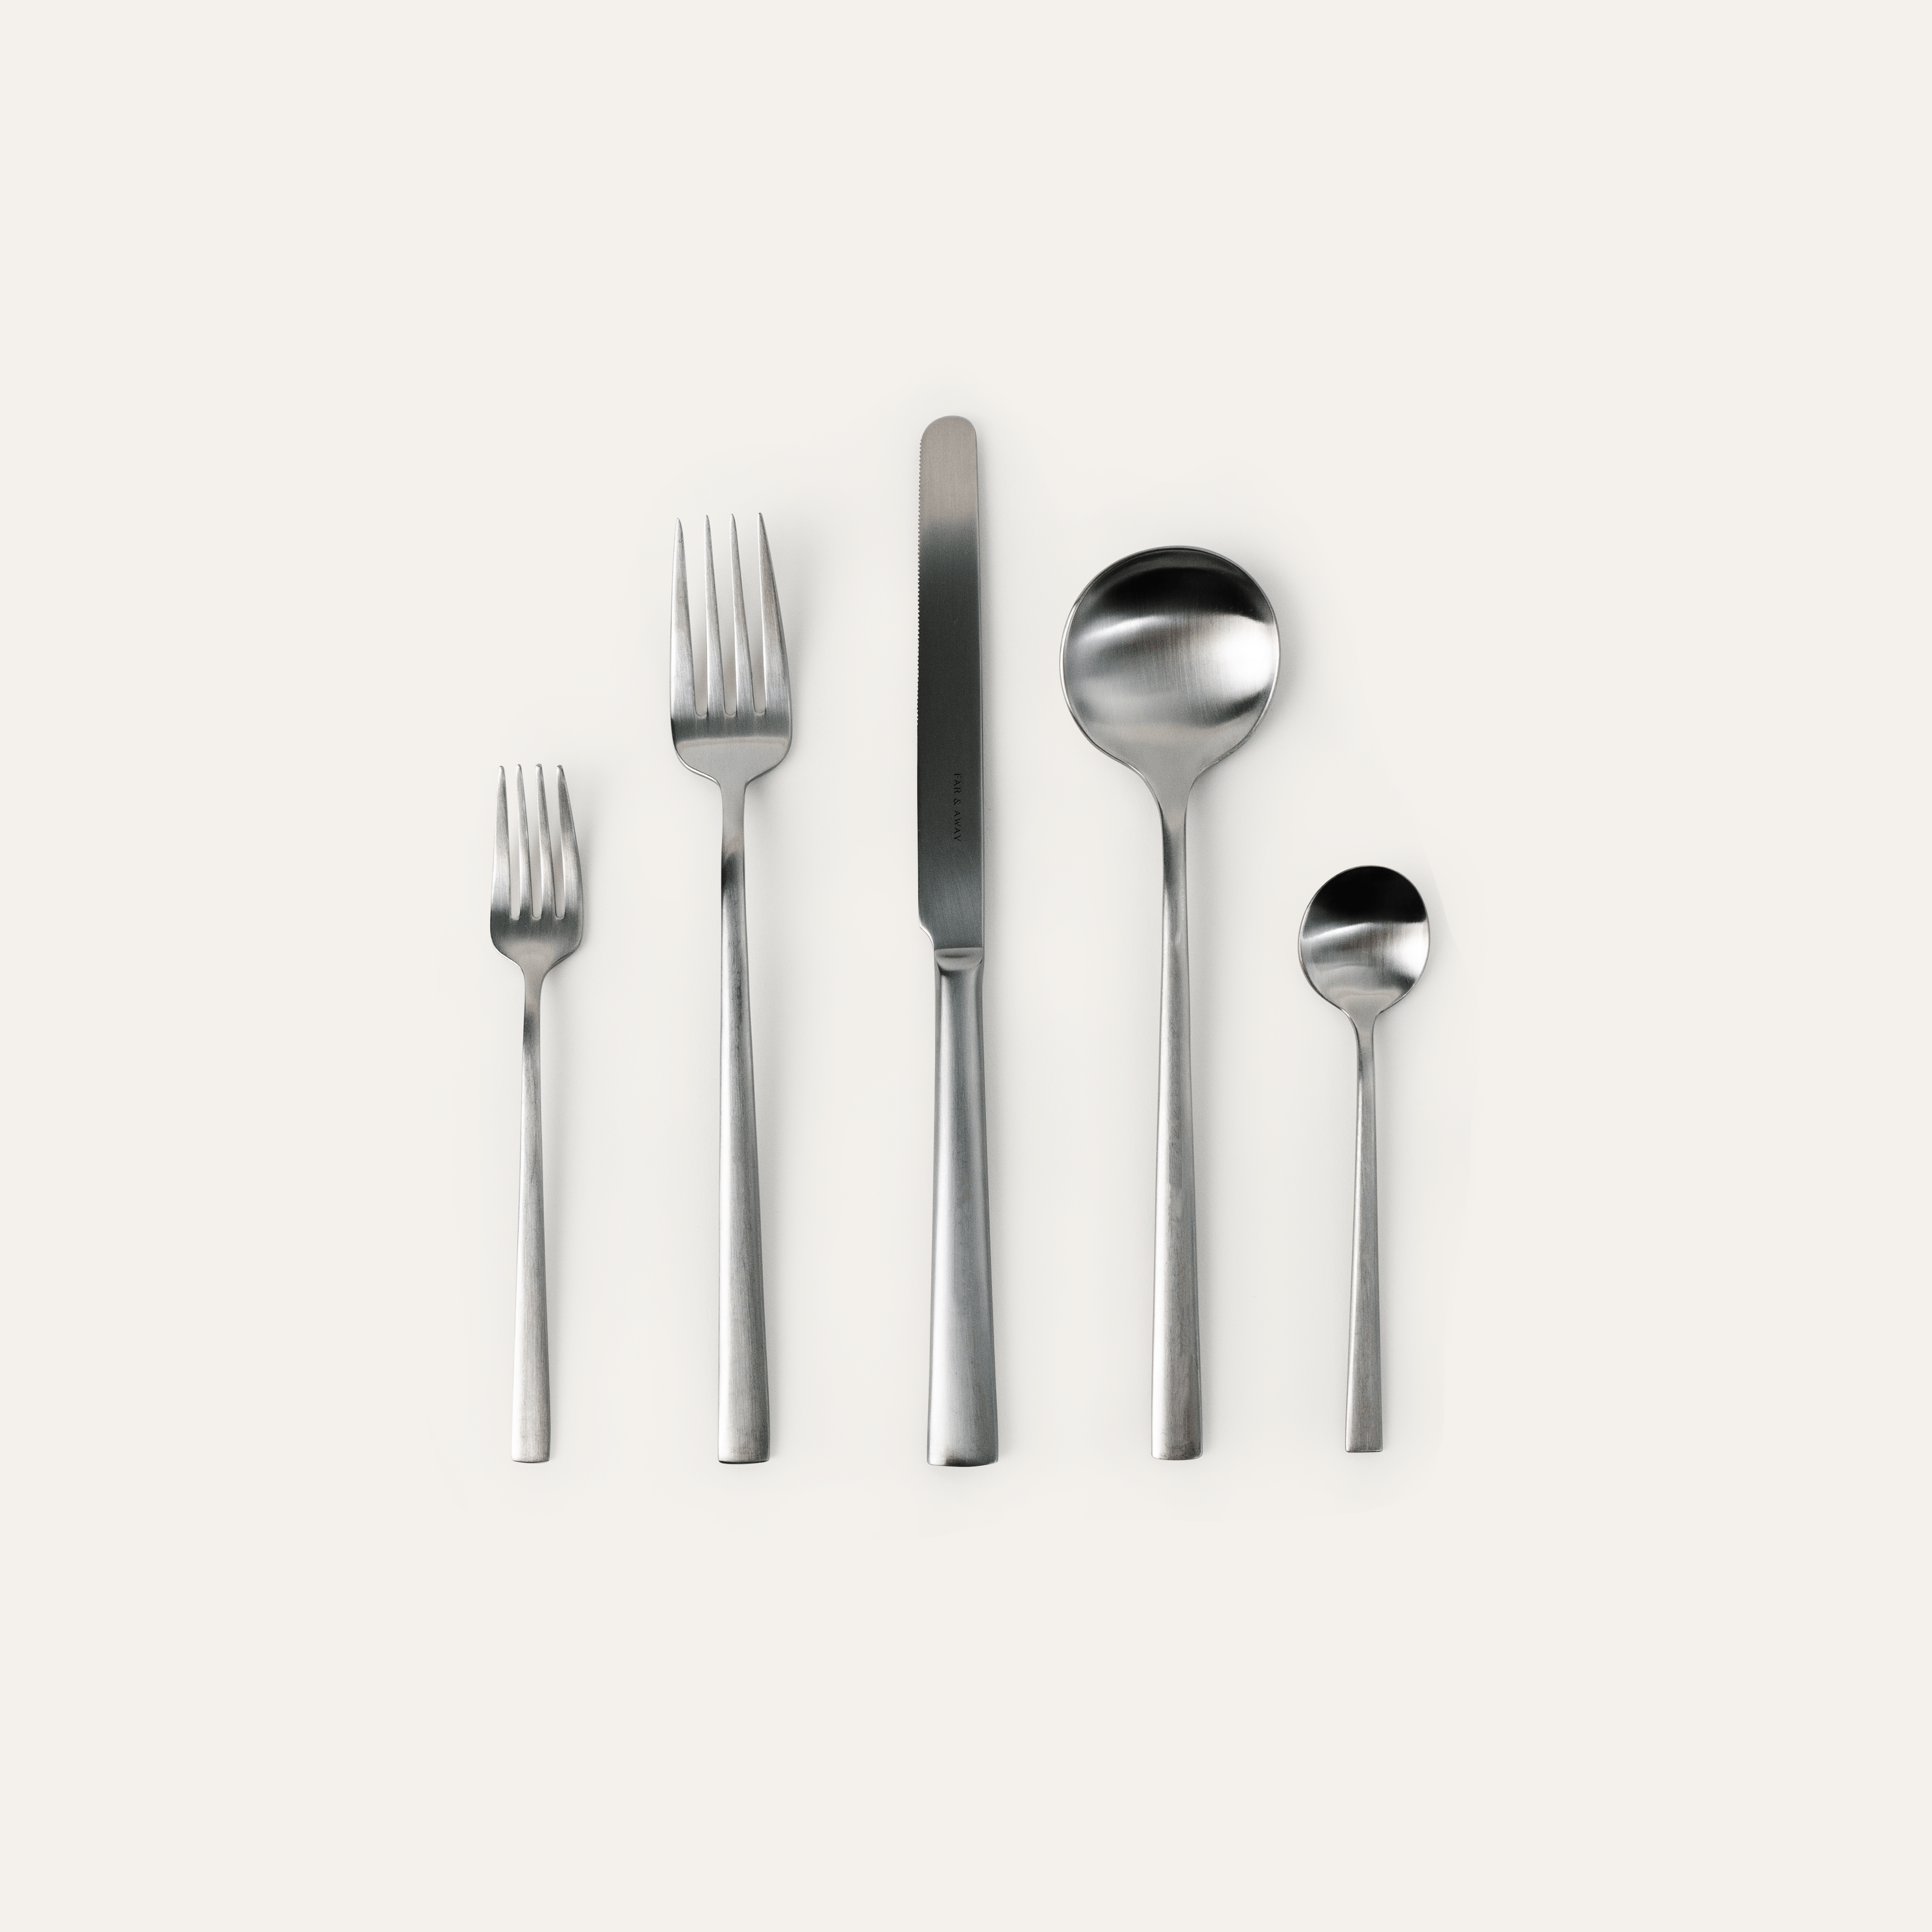
- A dinner-sized paper napkin
- One spoon
- One teaspoon
- One knife
It's best to use a square cotton or linen napkin for this project; some specialty paper napkins also work as long as they can lay flat. Additionally, make sure your utensils are clean and dry so that there isn't any moisture on them; this will make it easier to manage during the folding process. Finally, if you want to add a decorative touch to your napkin-wrapped utensils, you may also want to provide colored tape or ribbon.
Prepare the napkin
Properly preparing the napkin is essential when you are wrapping cutlery. When selecting a napkin, try to choose one that is large enough that it can completely cover the items being wrapped.
Fold the napkin in half to create a rectangle with two pointed ends at one end of the folded napkin. Then fold one of the pointed ends over to meet the center crease. Now bring the other corner up and turn it over towards the center crease to so it overlaps and creates a diamond shape with four equal sides.
Next, place your cutlery in the middle of your folded napkin and bring up all sides of it so that it forms a parcel around your cutlery. You may find it helpful to tuck in your edges as you wrap them around your bundle for a neat look and secure hold. Finally, use some fine string or raffia ribbon to complete your parcel and tie securely at both ends once you are happy with its neatness. You can then arrange on plates or trays as desired for an elegant presentation or simply place in holders on each table setting if desired.
Wrapping the Cutlery
Wrapping cutlery in a napkin is an art form that requires practice and patience to perfect. It's a very elegant way to present cutlery for a dinner party or special occasion. Learning this skill is an easy way to elevate your table setting and display chic style.
In this article, we'll cover all the necessary steps for a beautiful wrapping of the cutlery:
Place the napkin on a flat surface
Start by placing the napkin on a flat surface in front of you, such as a table. Ideally, the napkin should be slightly larger than the cutlery that needs to be wrapped. The napkin material should be strong enough to hold the cutlery in place while you are folding. Depending on your preference, you may choose a woven cloth or even an elegant paper napkin.
Fold one corner of the napkin in and press it down firmly to hold its shape. Next, pick up one piece of cutlery and slide it into this corner of your folded napkin so that it is parallel with the edge of the cloth. Make sure that there is some space between each piece for wrapping them cleanly and securely.
Once all pieces of cutlery have been added and secured with hand pressure, bring up two adjacent corners and fold them over to wrap neatly around each item. Repeat this step for all the corners until all four sides are neatly secured around your collection of utensils. For special occasions, use ribbons or colors to enhance your wrapped masterpiece!
Place the cutlery in the center of the napkin
To properly wrap cutlery in a napkin, start by folding the napkin in half twice to create a square. Then, place your cutlery at the center of the napkin with all the handles pointing towards one side and make sure that the blade of knives are facing away from you for safety.
Next, fold in each side of the napkin first and secure with a small knot before doing a final wrap around the center so that all sides secure each other. Finally, use a ribbon or decorative pin to secure the knot closed, giving it as extra-finished look.
Fold the napkin in half
When wrapping cutlery in a napkin, the process begins by folding the napkin in half lengthwise so that it forms a long rectangular shape. After folding the napkin, use your fingers to smooth out any wrinkles and make sure it is neat and uniform. Make sure the pattern side of the napkin is facing outward, so it will show when arranging your wrapped cutlery at the table.
Next, lay out your knife and spoon across one end of the folded napkin with their handles extending past the corner. Take care to line up both pieces from end to end as evenly as possible with their handles still showing at one end of the napkin. Fold over each piece separately by taking hold of both handles at once and switching them over to the same side.
After that has been completed, fold one corner up from underneath so that its edge touches just below where your cutlery is placed on top. You should now have four shaped flaps: two containing each item of cutlery and two empty flaps extending outwards on either side. In this position, take hold of one empty flap and carefully tuck it in under itself before repeating this step with remaining flap on alternate side until all four edges are tucked together securely beneath each item of wrapped cutlery.
Fold the edges of the napkin
Once you have chosen the napkin, you will need to fold the four edges in on each other. Start at one corner and fold two adjacent sides in on each other to make a neat triangle. If necessary, add a bit of extra fabric so that it covers all four corners of your cutlery.
Then, place the handle end of the fork and spoon at the folded edge of the triangle and begin wrapping the remainder of the napkin around them, creating a snug package. Turn over your package until you are looking at the bow end side up, and use an additional piece of fabric to keep it secured if desired:
- Fold two adjacent sides in on each other to make a neat triangle.
- Place the handle end of the fork and spoon at the folded edge of the triangle.
- Wrap the remainder of the napkin around them, creating a snug package.
- Turn over the package until you are looking at the bow end side up.
- Use an additional piece of fabric to keep it secured if desired.
Finishing Touches
Once you have all the cutlery neatly arranged on the napkin, it's time to finish off your presentation. Adding the finishing touches to the cutlery bundle can make all the difference in the presentation of your table setting. Whether it's a formal or informal occasion, there are many ways to wrap cutlery in a napkin for a beautiful presentation. We'll explore some of the different techniques in this section:
Secure the napkin with a ribbon
Once you have folded your napkin into the desired shape, you can secure the napkin with a ribbon. To add a finishing touch of elegance, tie the ribbon in a bow around the four points of your square napkin bundle or around the center of your flatware roll. A wide variety of ribbon styles and colors are available to choose from, so feel free to find one that best suits your event’s overall look and theme.
If you're looking for something extra special, try adding either an artificial flower or place card holder to complete the look. Once finished, your guests will have beautiful cutlery packages ready for enjoyment with their meals.
Add a decorative element (optional)
If you want to add an extra special touch to your wrapped cutlery, there are a few simple steps you can take to make it look even more beautiful:
- Use a colorful ribbon or piece of fabric, such as lace, to tie the napkin in a neat bow at the top.
- Another option is to use a decorative paper clip or string of small beads instead of tying the ribbon into a bow.
- To further dress up your napkin-wrapped cutlery, add in fresh flowers or herbs. A sprig of mint or some fresh rose petals tucked within the layers of cloth will add a luxurious feel and amazing aroma.
- Finally, consider personalizing each set with names or initials for an extra special touch!
Tips and Tricks
Wrapping cutlery in a napkin is a great way to make your dining experience more visually appealing. It serves as a neat and tidy way to present cutlery to your guests. With the right techniques and a few simple tips and tricks, you can quickly and easily master the art of the napkin wrap. Let's take a closer look at some of the techniques and tips you can use when wrapping cutlery in a napkin:
Use a cloth napkin for a more luxurious look
Cloth napkins add a touch of elegance to any table setting, and they can be used to wrap cutlery in a stylish yet practical way. For best results, use one square or oblong napkin per place setting, depending on the number and type of utensils you need to wrap. Place the folded items in the center of the napkin and fold up each side tidily. Secure with an elegant piece of ribbon or waxed twine if desired.
Not only is this look perfect for formal dinners with friends or family, but it can also be used to dress up restaurant tables when you eat out at a posh dining establishment. If a restaurant provides cloth napkins rather than paper ones, there is usually enough fabric for wrapping cutlery too! For outdoor dining occasions such as picnics or barbecues, checkered gingham fabric napkins can lend some rustic charm to your evening.
Use a larger napkin for larger pieces of cutlery
In order to wrap larger pieces of cutlery, it is best to use a larger napkin. The napkin should at least be 40cm long and 40cm wide in order to fit the silverware correctly. Wrap the pieces of cutlery individually, starting with the knife and finishing with the spoon when all four pieces are going out at once (for a complete place setting).
- Start by folding one side of the napkin over until it meets the opposite edge but open enough for your piece of cutlery to fit in.
- Place your piece in the center opening, making sure that any sharp edges are facing away from your hand so you don’t cut yourself.
- Then fold up each side over the tip of the handle, rolling it towards the blade.
- Use one end of the napkin for a handle and tie it off with string or ribbon for extra decoration.
- If a fork is included along with other pieces then begin wrapping each piece separately before tying off together as one bundle.
Use a smaller napkin for smaller pieces of cutlery
When wrapping cutlery in a napkin, it is important to choose the right size of napkin for your items. Smaller, more delicate items such as teaspoons need smaller napkins for them to fit snugly, while larger pieces of cutlery such as forks and knives may need larger napkins.
If you are using a square cloth napkin, fold it in half diagonally and then in half again to create a triangle – this will give you the perfect size for larger pieces of cutlery. For smaller items such as teaspoons, quarter the triangular shape to create an even smaller piece. This approach allows you to customize your wrapping depending on the type and quantity of cutlery you are setting out.
related Articles


Popup
Use this popup to embed a mailing list sign up form. Alternatively use it as a simple call to action with a link to a product or a page.
Age verification
By clicking enter you are verifying that you are old enough to consume alcohol.